


Óscar Gómez
Chief programmer
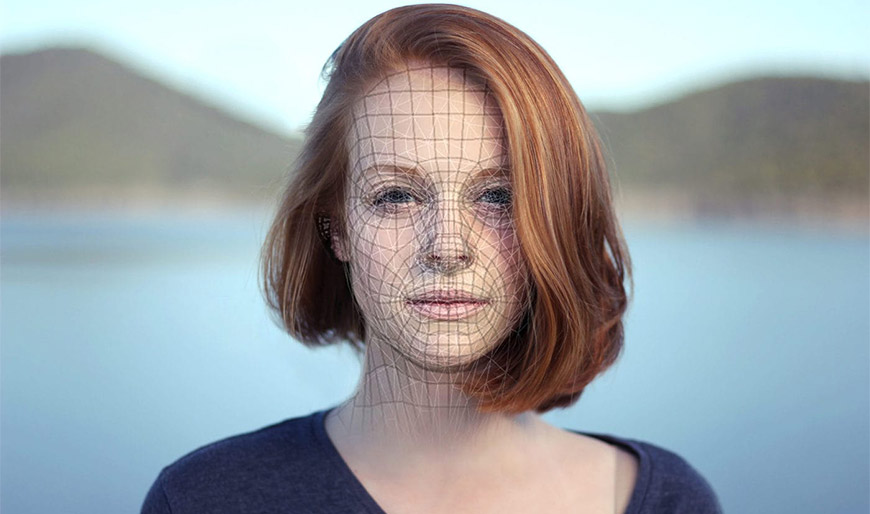
At work, I am often surrounded with terms like 3D, light field, integral imaging, depth sensors, etcetera. There are many techniques to capture 3D images, and some are better than others. Arguably, the simplest of them is to capture a stereo pair. The most complex is probably to capture a light field with devices such as these. Google’s demo “Welcome to Lightfields” is pretty good at showing off what a light field is and what it looks like. So, if you have a VR headset, I totally recommend this experience.
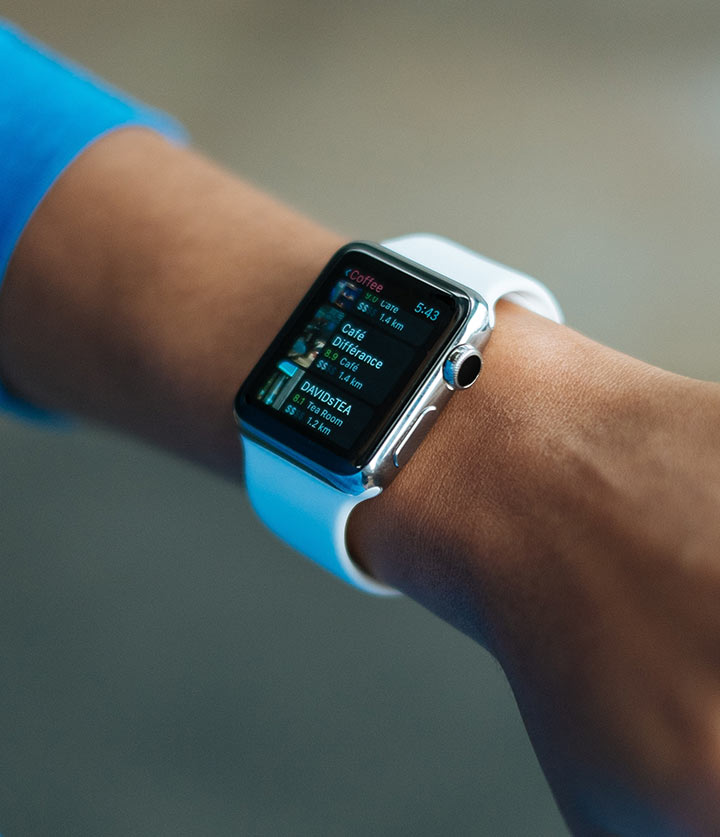
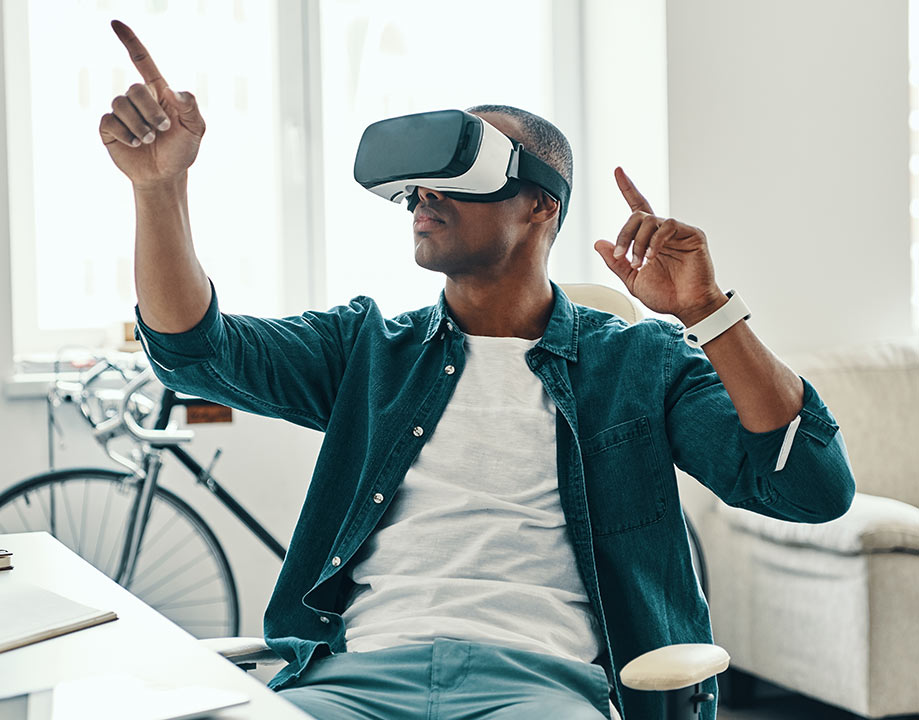
Displaying these images is the other side of the coin. There are 3D TVs with and without glasses, VR headsets like the Oculus Quest or the HTC Vive, VR headsets for smartphones like the Google Cardboard and microarray displays such as the LookingGlass or the Leia Lume Pad. There are also the classic cyan-red glasses to see anaglyphs or this device designed by Brian May.
While I was abroad, and with some free time on my hands, I decided I was in the mood for my neglected hobby, photography. And while I was at it, why not try 3D photography? I wanted to see what 3D photography contributes in terms of artistic expression. I had first to solve two main problems: capturing and displaying.
The first one was easy, all I had to do is take two pictures with my smartphone, it was a shame that I did not have my DSLR with me at the time. One photo is to be viewed by your left eye and the other by your right eye. So, I take the first picture and then I move the smartphone horizontally a bit to take the second one. Ideally, you want to imitate the intraocular distance, which is about 6 cm, but you can experiment with different distances. As the horizontal movement might not be ideal, you can use a software like this to automatically correct any distortions.
The displaying problem is more interesting. Being a kid of the 90s I had these Magic Eye books at home. These books contain several autostereograms which are images that use repeating patterns that encode depth information. When viewed using a special technique, the hidden depth image emerges. There are two techniques to view autostereograms: cross-eyed vergence and wall-eyed convergence:

The Magic Eye books used the wall-eyed technique. In this technique, each eye focuses on a further point of the image resulting in viewing different parts of the image. I will try to show you how to do it.
First, we will use the following image. Try every step with this one. Regardless of the device you are using, adjust the zoom so that the dots are separated by about 3 cm.

Now, relax your view and try to focus on the horizon. The points will become out of focus and you will get double images. Move your head until you get three points. You should then see something like this:

Finally, try to focus on the central dot. The eyes need to focus closer than it would be natural given the divergence. You can move your head closer or further if you do not get it at first.

Did you see it correctly? Now, let us try with a figure that actually contains depth information:

If you did everything correctly, you should see the marked dots closer while the rest are behind. If you do not achieve it at first be patient. It gets easier with practice. Now to the fun part. Let us see a real example. This is one of the first stereo pictures that I took, it is also one of the easiest to see because the geometry is big and rounded.

Notice how the cup stands out more because is closer in depth, and how the reflections are more “alive”. This is because the reflections depend on the point of view, and we are matching what the eyes do so the result seems natural. Let us see another one:

In this one, I told the people to be very still, as I took the two pictures. This is the main limitation of this capture technique; it only works with static subjects. If you enjoyed watching the pictures you can see more in my Flickr album. There is also a cross eyed version of the album if you like this technique better.
There are many afficionados to stereo photography and you can check their work on the subreddits r/ParallelView and r/CrossView. Also, there are many images on Flicker and other sites of the internet.
Overall, I think giving depth to photography allows for interesting artistic possibilities and I will be taking more photos as I really enjoy taking and viewing them. I prefer viewing the photos using this technique than using a 3D TV or any of the devices mentioned above, I can appreciate the detail and the depth better and more naturally. The VR headsets give a good result as well, but you lose the fine details as the effective resolution is not that great at the moment.
I might start a personal project to build a device that captures stereo pictures and video and uploads the results to the cloud automatically, but that’s material for another blog entry ;).